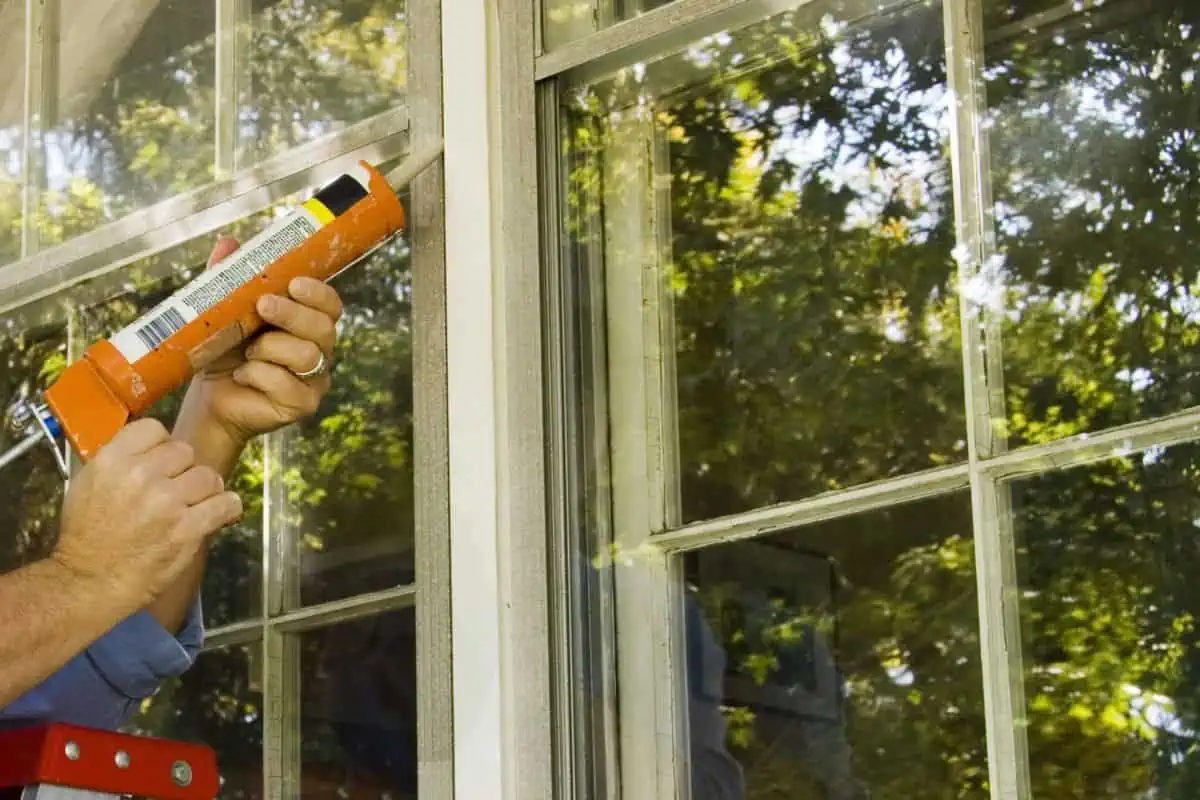
Your windows let in beautiful views and sunlight, but they can also lead to leaking and draftiness if they aren’t caulked in properly. Caulk is used around the exterior joint between your windows and the exterior siding or brick to fill in the gap. If a gap were to remain, bugs, water, and wind could get inside.
Caulk is important because it keeps that gap closed. However, all caulk will eventually shrink and possibly crack. So what, is this another costly fix? No, it’s something you can do yourself with some time and a caulk gun.
What You’ll Need
- A Caulk gun
- A putty knife
- A utility knife
- Tubes of caulk
- Some rags and some water
- Your hands
How to Begin
First, you’ll need to clear away as much of the old caulk as you can. This is the part that can be the most time-consuming if the old cauk still adheres well to the frame. This is where you will need to use the putty and utility knives.
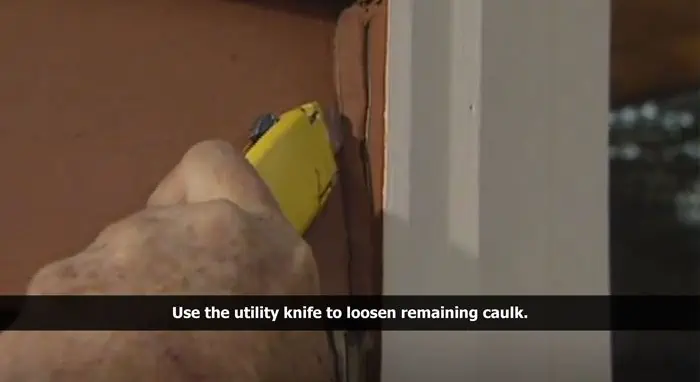
For strips of caulk that are firmly in place, use a utility knife to cut the caulk on either side to break it loose from the frame. Next, use the putty knife to easily remove any caulk that has begun pulling away from the frame.
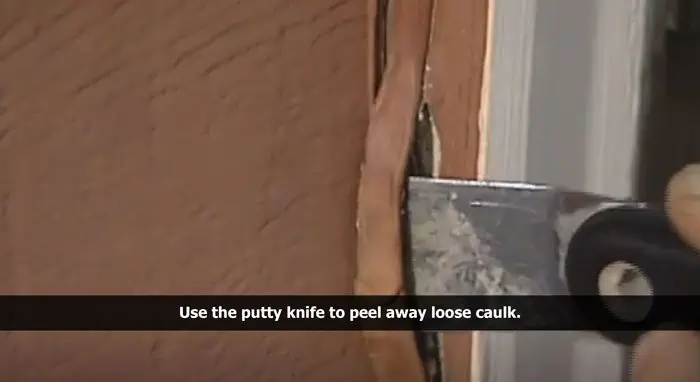
Once you have a section of caulk coming lose you can peel away the strip attached to it to the next rough spot. Once all caulk has been removed, use a rag to clean the area of any debris and dirt. The cleaner the area can be, the better the new caulk will adhere and protect your home.
New Caulk
Cut the new caulk tip to be a tiny bit wider than the gap you are trying to fill. Begin pushing out the caulk slowly, it will move faster than you think and it’s difficult to stop once it’s flowing.

Apply the caulk in a steady bead along the entire length of the gap. Complete the entire window before stopping to assess.
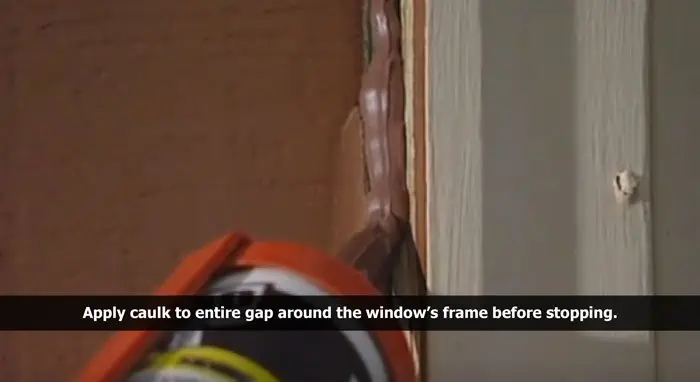
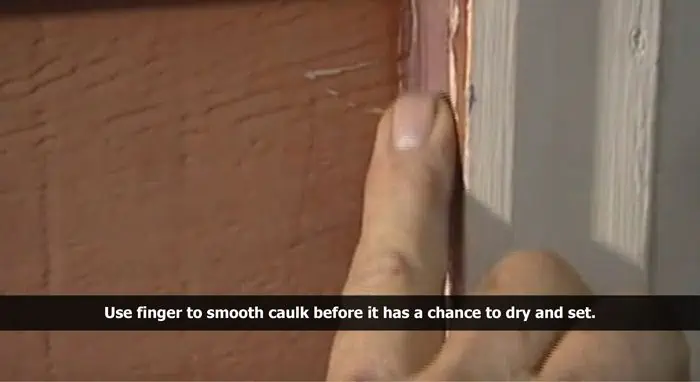
Once the caulk is applied, I like to smooth it over with my finger and then make sure any excess is wiped away.
Long-lasting Caulk
If you follow these steps, your caulk should last you 20-30 years or longer and you can avoid the headache of leaks, bugs, and drafts getting into your house.
If you would like to see any other tips or have questions, feel free to drop us a note and request it. You can also get some in-person advice on an upcoming home project just by giving us a call at 888-776-1998.
All install images were sourced from a DIY video by Ron Hazelton. Click below to view the video and learn more about screen door repair!