Siding is not only an exterior protection for your home, it also is a vital contributor to curb appeal. Although it is very durable, is not indestructible. Whether your siding is cracked after a harsh storm or, damaged due to pesky insects, a siding replacement is the perfect fix. The replacement can be done in a few simple steps using basic tools but, never hesitate to call on the experts when necessary.
Aluminum Siding
If there are large cracks and breaks in your aluminum siding it is best to do a replacement rather than repair. To do this you will need tin snips, butyl gutter seal, caulk, and the replacement piece of siding.
First, grab the tin snips and make two vertical cuts at each end of the damaged piece followed by, one horizontal cut along the center. Next, leave the nailed upper section in place while only removing the lower portion. Be sure to cut the nailing tab off at the top of the replacement part.
Then, apply the butyl gutter seal lengthwise at the top of the nailed section. Once that is applied, fit the lower replacement piece into place and press it firmly into the gutter seal. Finally, use silicone caulking or the butyl gutter seal to caulk the joints. If the steps are challenging to do by yourself, always call on your local siding contractor for help.
Vinyl Siding
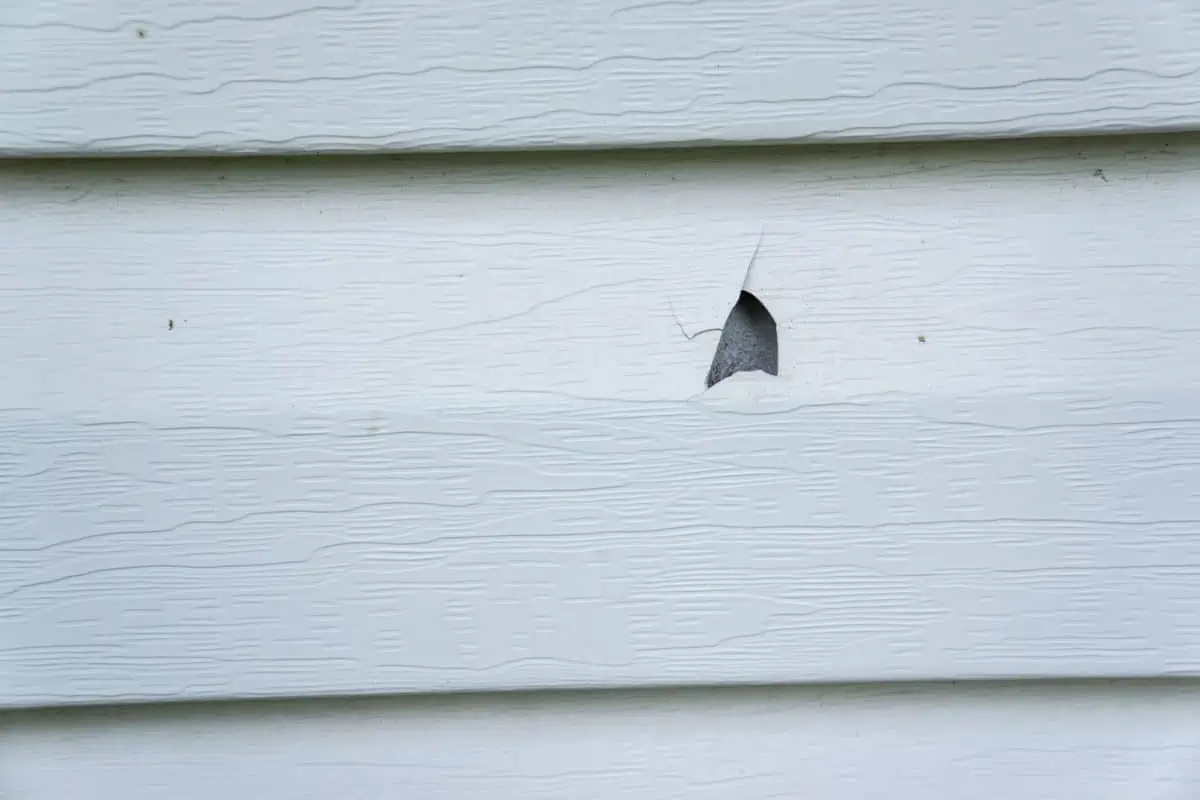
Vinyl Siding with small cracks can easily be repaired with an epoxy and little touch-up paint but, for those larger cracks, the best option is to do a replacement. Replacing vinyl siding is usually a short 20-minute fix, requiring just a zip tool to get the job done. Keep in mind, it’s best to do this job during warmer weather. To do this you’ll need a zip tool, a pry bar, and the replacement piece of siding.
Grab the zip tool and start at one end of the damaged siding. Use the tool to push up under the siding until it hooks to the bottom lip. Next, pull the tool down and out to unhook the bottom lip.
As the bottom lip unhooks, slide it along the edge to pull the siding out. Then, begin to unzip any other pieces that are above the damaged piece. A good trick is to use your elbow to hold them out of the way as you begin to pry off the nails that hold the damaged portion. Once that piece is off, slide the replacement up until the lower lip locks into the piece below it.
Finally, use roofing nails to secure the replacement using the correct measurements as well as allowing an appropriate amount of space between them. Don’t nail too tightly as warmer weather may cause the siding to buckle.
Wooden Siding
Peeling paint or small cracks on wood siding is an easy fix requiring wood putty and some paint. However, insect damage and dry rot may leave your siding needing a replacement. If insect damage is the problem call your local expert for help.
Dry rot issues can be addressed easily by doing the replacement in a few steps. To do this you’ll need a utility knife, a hammer, nails, the replacement siding, and a pry bar. Start by scoring the length of the damaged wood with the utility knife.
Grab the pry bar to break the lower half of the damaged piece loose by gently tapping it along the edge with a hammer. Be sure to pull the bar toward yourself to avoid breaking any surrounding portions of siding.
Once you have the appropriate size and style of the nails and siding, begin to put on the replacement. First, check to make sure the replacement piece fits properly. Then, snap it into place and secure it with nails.
Having trouble with your siding replacement? Well, you’re in luck because Pro Home Improvement has the qualified experts to help assure that your home is not only protected but looks great too! We can inspect your siding damages and provide a no-obligation estimate. Call us today at 888-PRO-1998 or contact us online to schedule an appointment.