Insulation serves many purposes in your attic, including protecting your home from the elements, keeping you and your family comfortable and saving energy and therefore money on your energy bills. Making sure your attic is properly insulated can be worth a lot to your family, so use the guide below to make sure your home is ready for the winter with a nicely insulated attic.
Rather than giving a specific “how-to”, we’ll just lay out the fundamentals. From there, you can apply these concepts in a manner that makes the most sense for your specific home.
When you are preparing to install insulation, there are some preparations you should make to ensure the insulation with has maximum effectiveness.
Stop Moisture from Reaching Your Attic
Moisture from your living space can be so detrimental to the performance of your attic insulation, so you need to start with this, and it can be a challenge. You’ll need to inspect ducts, mechanical systems and the floor of the attic. If you don’t perform this task, you can end up with a well-insulated attic that does not stop moisture leading to a mold and rotten roof boards.
TIPS FOR INSPECTING THE ATTIC FOR AIR LEAKS
- Have someone like an energy auditor perform a blower door test and also a thermal inspection of your house. Within a few hours, they’ll be able to show you where your trouble spots are so you can focus your efforts. Test your ducts and locate leaks so they can be sealed with mastic, metal tape or a product like Aeroseal.
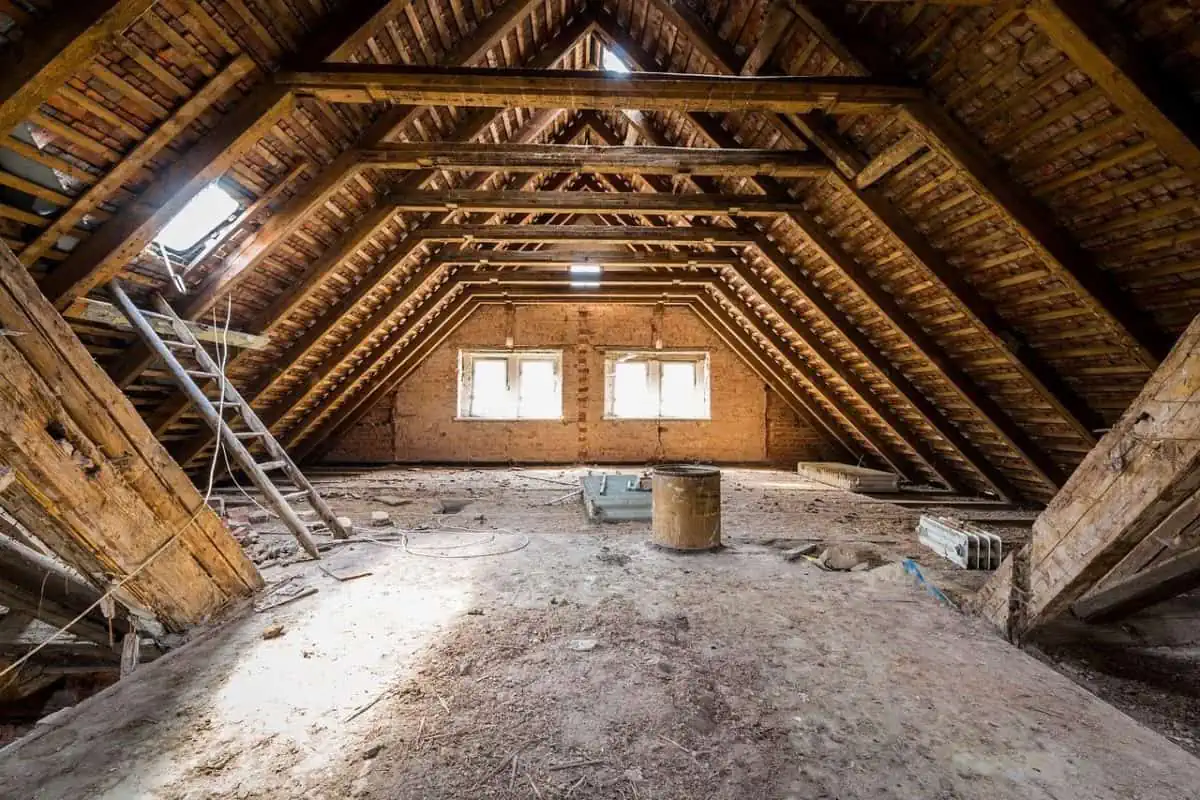
- Inspect the underside of the roof deck from inside the attic. Look for dark stains around nail penetrations since that is where moisture tends to condense. Check directly below the stains for possible areas where moisture could be slipping through
- Look for air outlets near any bathrooms. Every bathroom needs a fan that evacuates moist air to the outside! No bathroom fans should EVER vent into the attic and if they do, they should be fixed immediately.
- Check the HVAC system and the ducts in the attic. All ducts should be insulated and airtight. Make sure the air filter port is sealed. If it’s not, this can be a huge waste (30% of your system’s efficiency) and can lead to health and comfort issues.
- Visually check the insulation on the attic floor. No spaces should be open. It’s common to find places where insulation was removed by someone (i.e. the cable guy) and then not replaced. One panel of missing insulation could cost as much in heating and cooling costs as a room that is properly insulated. If you find gaps, fill them in.
- Check the access door to the attic. This can be a pull-down ladder or just a hole with a piece of drywall or plywood covering it. Make sure this hole gets the proper insulation-backed panel it needs so it can block air and moisture from traveling by. You can pick up an energy-saving hatch cover kit to help.
- Look for holes leading into the walls of your home, areas like this allow air, dirt, and moisture to flow freely from the house up into the attic. You can tell because the insulation has acted as a “filter” trapping dirt and moisture in the fiberglass.
These steps should help guide you towards a successful insulation installation and look for problem areas. In the next part of this series, we will discuss the different strategies available for insulating your attic and what you should be looking for. If you have any questions or need help with insulation, be sure to call Pro Home Improvement at 888 776-1998 or schedule an appointment.