Out Of 293 Reviews
Out Of 380 Reviews


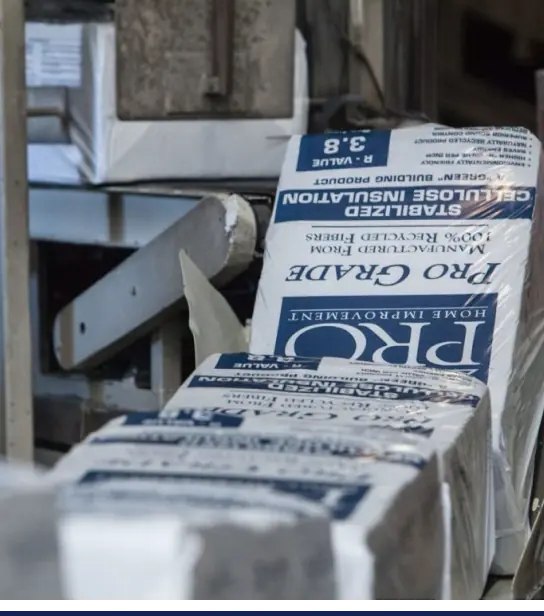


Stabilized Blown-In Cellulose
Blown-in insulation is installed by running a hose from a truck-mounted blower machine into the attic. The installer directs the hose to ensure an even layer of insulation on the attic floor.
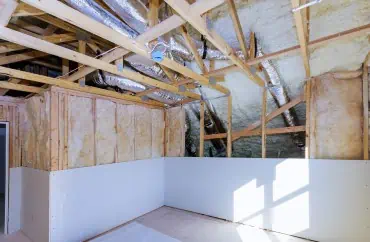
Batt Attic Insulation
Batt insulation is installed by measuring and cutting sections to fit between floor joists in the attic. Additional layers may be added for full coverage. Alternatively, insulation can be nailed between rafters instead of being laid on the floor.
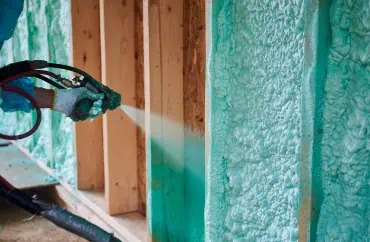
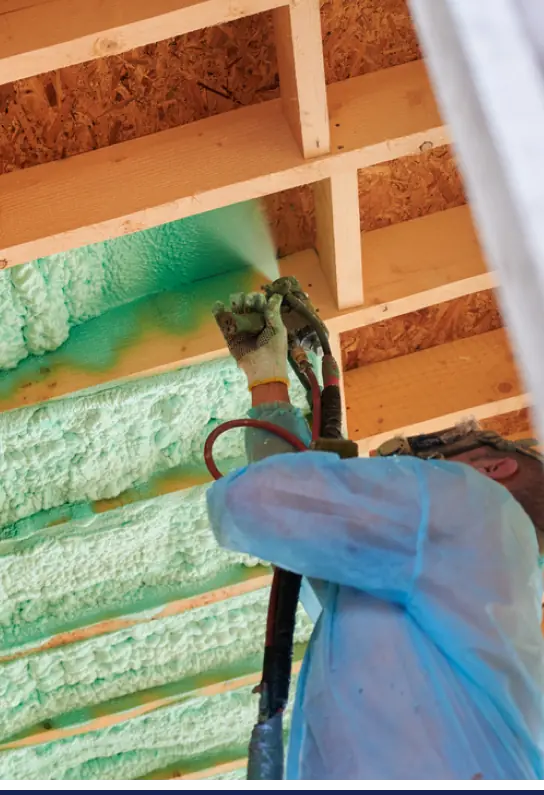
Spray Foam Attic Insulation
Spray foam insulation is applied using smaller hoses, covers attic walls and ceilings, and expands upon application.
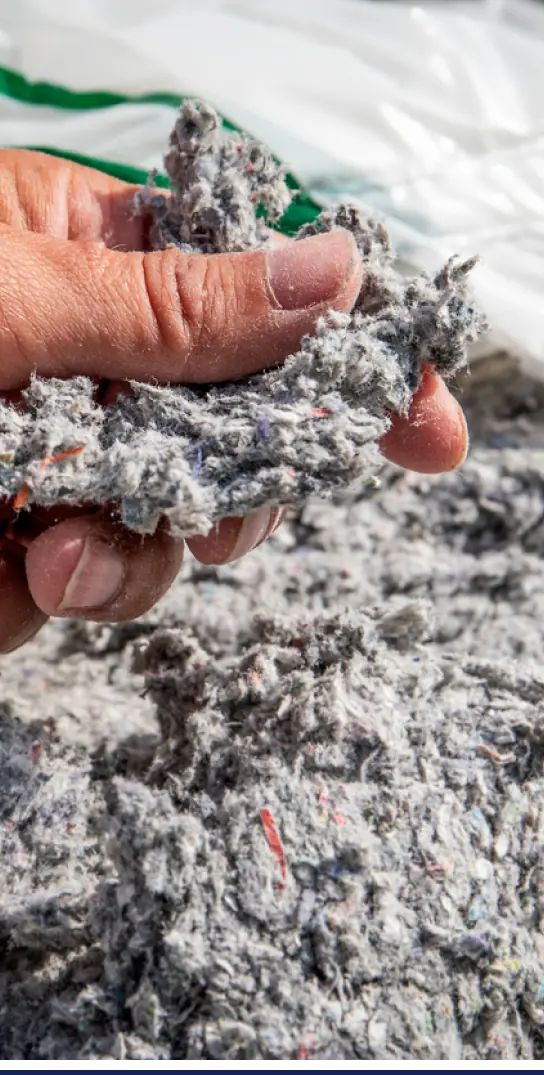
Cellulose Insulation for Walls
Our exclusive cellulose blown-in insulation guarantees long-term coverage without settling or shifting, ensuring effectiveness for decades. Made from 100% recycled materials, it's our greenest insulation option, providing sustainable and efficient home insulation.
Dense Pack Cellulose Insulation for Walls
Upgrade your finished walls' R-value efficiently with dense pack cellulose insulation. By drilling small, easily sealed holes in the exterior, celulose is blown directly into walls, tightly filling each cavity without costly repairs.
Fiberglass Insulation for Walls
Fiberglass insulation, offered in loose-fill and batt forms, is widely used in Michigan homes for its effectiveness. Recognizable by its pink color, it consists of glass fibers woven with a binder, providing a wool-like texture.


25-Year System Guarantee
Pro Grade Insulation comes with an unparalleled guarantee. Unlike typical guarantees, our guarantee covers both materials and installation, ensuring efficient repairs and lasting performance.

Free Yearly Inspections
Make sure your insulation is performing as it should by having a pro visit your home once a year.

Backed by Experience
With almost 20 years of experience, we offer cost-effective insulation across Michigan, with headquarters in Ferndale.

Reputable With Michigan Locals
We're proud of the customer work we've done with 4.5 stars on Google and no-pressure estimates.


We'll provide a free estimate.
Our expert team will walk you through our recommendations.
Licensed and insured contractors will be sent to your home.
We'll install first-rate products with industry leading, 25-year guarantee.
Our crew will leave your home better than we found it.